Gin Repository primer
TODO
add a nice image for each section
Note
There are several different user interfaces, and each of them has its own advantages and disadvantages. Consult with User interface options for more details.
Identification of a repository
A repository is identified based on the name of the owner and a unique repository name.
For example, if the user name is seharak and the repository name is TastingGin,
you can specify the repository as seharak/TastingGin by joining the two components by a slash (/).
An organization (a group of users) can also be the owner of a repository.
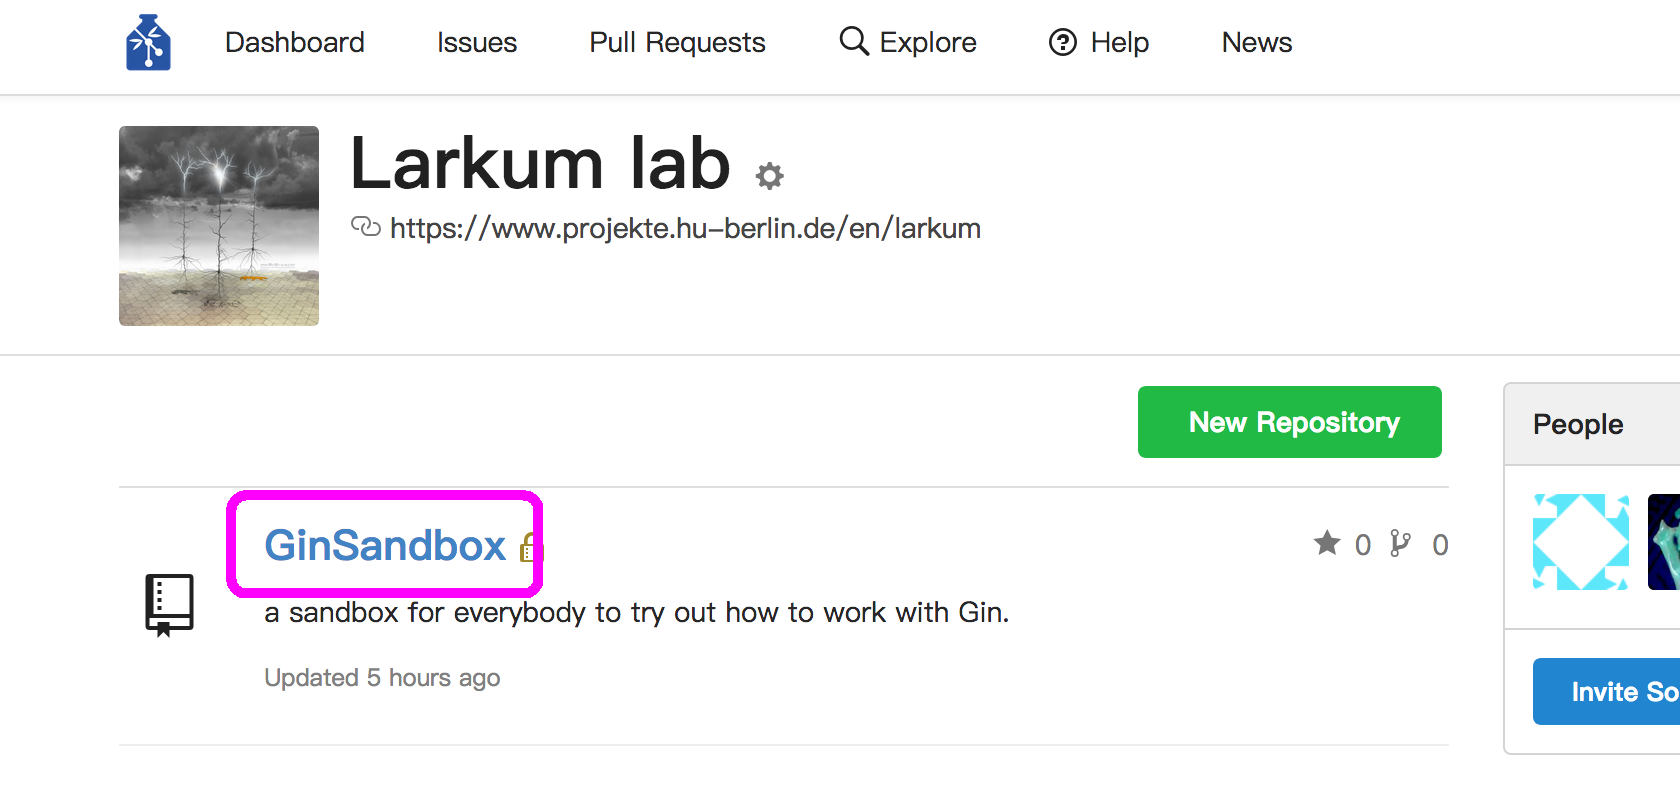
For example, the organization larkumlab has this repository GinSandbox.
To identify this repository, you can specify as larkumlab/GinSandbox
(the repository is here).
You can check repository names in various ways, using the Gin web service (also see Listing available repositories):
On the repository page: you can see its name (along with the name of the owner) on the top of the page (i.e. “AdaptFE/ReadingTrials” in this example).

On personal / organization page: the repository names, without the owner name (which is this organization itself) can be seen.
Accessing to a repository
In order to have an access to a repository:
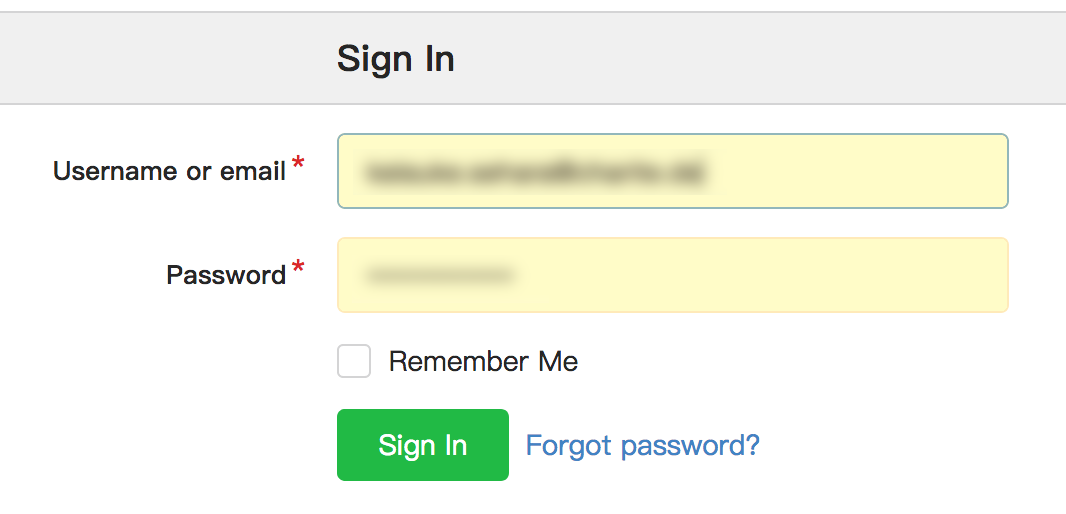
You have to be logged in as a user:
from the web interface, you can use the “Sign in” button on the top-right corner.
from WinGIN, you will be prompted to log in on the first usage, and you are free from it afterwards.

from Gin CLI, you have to run
gin loginbefore working with repositories, but you are free from it afterwards.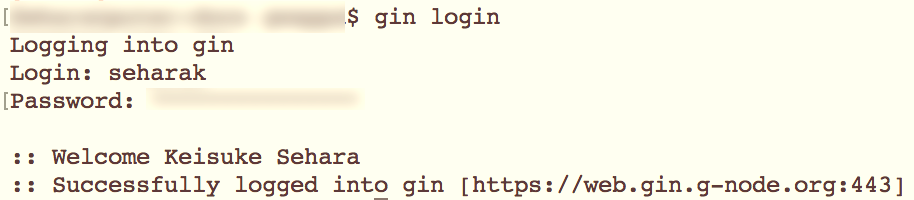
You must have an access-previlige to a repository. This means either:
- you are the owner of the repository. In this case, if you set it “private”, no one else may be able to see your repository.
- you are a member of the owner organization of the repository. In this case, even when it is set as “private”, the members of the organization share the repository.
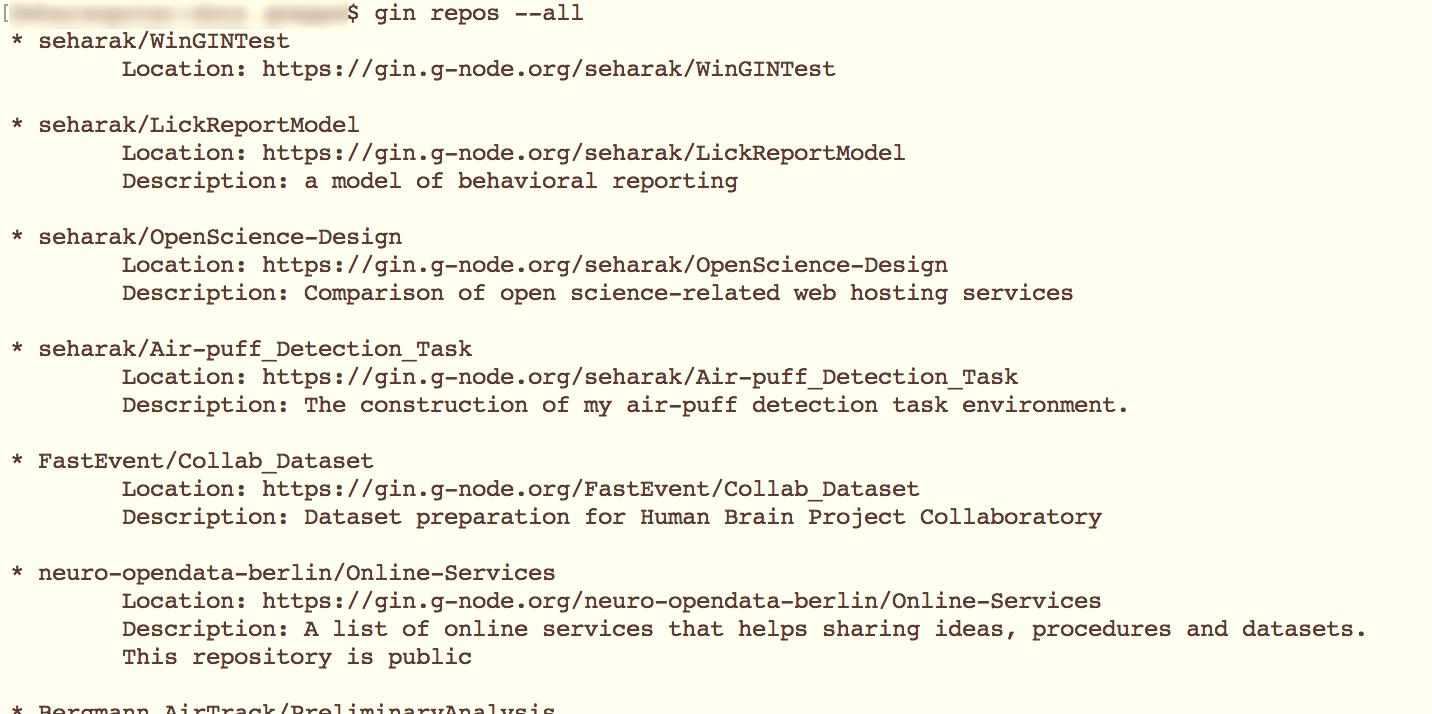
You can check what repositories you have access to, by Listing available repositories.
Creating a repository
Creating on remote:
- Go to the page of the owner i.e. if you want to create a repository under
larkumlab, you have to go to its user page. - Click on the green “New Repository” button.
- After some settings, you are done.
- Go to the page of the owner i.e. if you want to create a repository under
Creating locally:
- Using WinGIN, click on the “Create” button from the “Manage repositories” contextual menu.
- Using Gin CLI, run
gin create <owner name>/<repository name>. An empty repository will be created (TODO: need to check).

Updating a repository
A “commit” procedure is the only way to add a history on your repository. It can optionally have so-called “commit message”, which can be used to state what you changed from the previous commit.
Committing locally:
- Using Gin CLI, you can run
gin commit -m "...(message)..." .from any sub-directory of your repository (note that you don’t have a way to stage/add individual files). - Using WinGIN desktop client, you can use the “Upload changes” contextual menu.
- Using Gin CLI, you can run
Committing remotely:
You can edit or upload individual files using the Gin web interface.

The “New file” and “Upload file” buttons. Click on the button on the repository page, and you will be redirected to the corresponding control page.
Downloading a repository for the first time (cloning)
The procedure of downloading a repository that is non-existent on your local machine is called checkout (or “clone”, in the world of Git). You can either use the command-line interface or the desktop client:
- From the Gin CLI: run
gin get <owner name>/<repository name>in a directory to check out the latest version as a sub-directory. - From WinGIN: use the “Checkout” button from the “Manage repositories” contextual menu.

You can check what command to run by looking at the repository page.
The command gin get ... shows up on the middle-right on the page.
It can be copied to your local clipboard.
Synchronizing a repository
You can synchronize a repository between a local and a remote ones.
Upload (local –> remote):
- Using WinGIN, you can use the “Upload changes” contextual menu. This also runs the commit procedure at the same time, if necessary.
- Using Gin CLI, run
gin uploadafter performing a commit. It will tell you with the uploading status.
Download (remote –> local):
- Using WinGIN, I don’t know for the moment
- Using Gin CLI, run
gin downloadto get synchronized with the changes on remote.
TODO
How to perform downloading on WinGIN